Introduction to Git
Overview
Teaching: 20 min
Exercises: 0 minQuestions
What is version control and why should I use it?
Objectives
Get up to speed to start with the advanced workshop.
Understand the basics of how Git works.
Create a local Git repository
Go through the modify-add-commit cycle for one or more files.
Identify and use Git commit numbers.
Create a remote repository
Push to or pull from a remote repository.
This lesson
This is an Advanced Intro to Git lesson. This means that it is based on the Intro to Git - beginner lesson. Below you will find a summary of the beginner lesson, so that you can get up to speed if you are coming to the advanced lesson without taking the beginning lesson first. Take into account that this is only a summary, so we will go over some concepts rather quickly. If you are not comfortable with some of the concepts outlined here, make sure to take the beginner lesson first.
This pages summarizes the following content:
- What is automated version control
- Initializing a repository
- How to check the status of the repository with
git status - How to
addandcommitwith git. - How to check commits with
git log. - Create a remote repository in GitHub
- Connect the local and remote repositories.
pushandpullcontent to the remote repository.
Other content that the beginner lesson addresses that we will NOT cover here:
- A thorough explanation of all the contents in the previous list
- Ignore files with
.gitignore - Work with the history of the repository
- Restore older versions
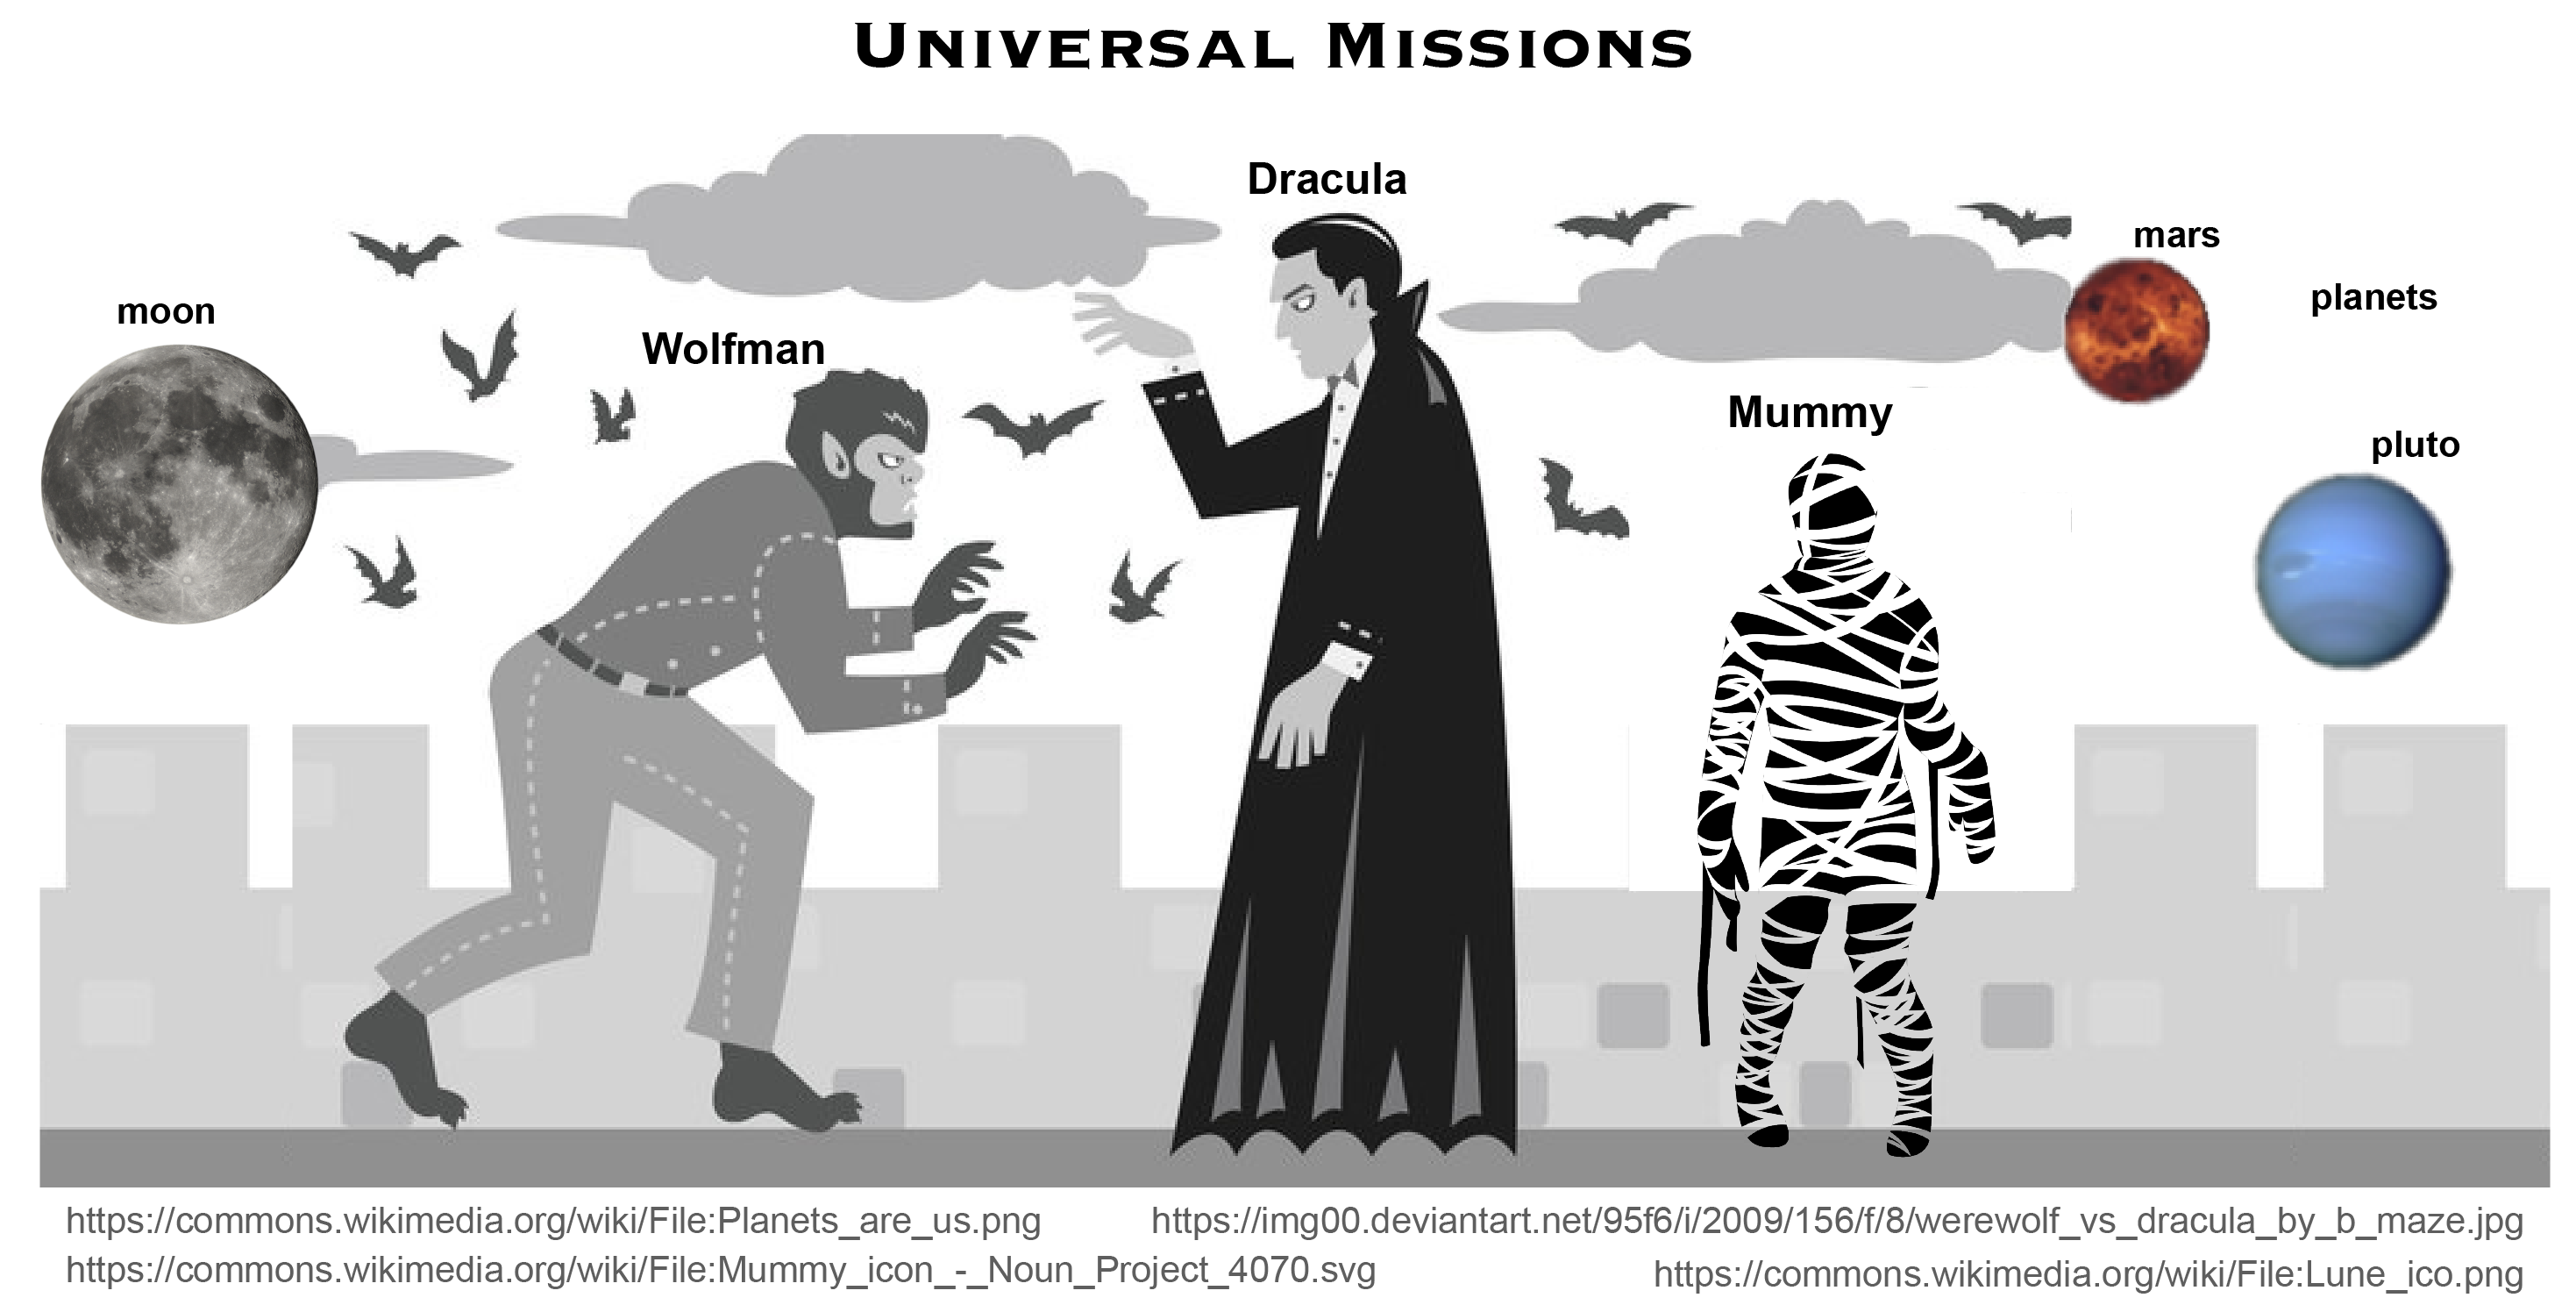
This lesson is the story of Wolfman and Dracula who are investigating if it is possible to send a planetary lander to Mars, and decide to use Git for their reports.
Automated version control
Version control systems start with a base version of the document and then record changes you make each step of the way. You can think of it as a recording of your progress: you can rewind to start at the base document and play back each change you made, eventually arriving at your more recent version.

Once you think of changes as separate from the document itself, you can then think about “playing back” different sets of changes on the base document, ultimately resulting in different versions of that document. For example, two users can make independent sets of changes on the same document - these changes can be organized into separate “branches”, or groupings of work that can be shared.

Unless there are conflicts, you can even incorporate two sets of changes into the same base document, or “merged”.

A version control system is a tool that keeps track of these changes for us, effectively creating different versions of our files. It allows us to decide which changes will be made to the next version (each record of these changes is called a commit), and keeps useful metadata about them. The complete history of commits for a particular project and their metadata make up a repository. Repositories can be kept in sync across different computers, facilitating collaboration among different people. Git offers a lightweight solution to frequent branching and merging of shared documents.
Setting up Git
When we use Git on a new computer for the first time, we need to configure a few things.
On a command line, Git commands are written as git verb options,
where verb is what we actually want to do and options is additional optional information which may be needed for the verb. So here is how
Dracula sets up his new laptop:
$ git config --global user.name "Vlad Dracula"
$ git config --global user.email "vlad@tran.sylvan.ia"
Please use your own name and email address instead of Dracula’s. This user name and email will be associated with your subsequent Git activity, which means that any changes pushed to GitHub, BitBucket, GitLab or another Git host server in a later lesson will include this information.
$ git config --global init.defaultBranch main
Source file changes are associated with a “branch.”
For new learners in this lesson, it’s enough to know that branches exist, and this lesson uses one branch.
By default, Git will create a branch called master
when you create a new repository with git init. This term evokes
the racist practice of human slavery and the
software development community has moved to adopt
more inclusive language.
Creating a repository
Once Git is configured, we can start using it.
First, let’s create a directory in Desktop folder for our work and then move into that directory:
$ cd ~/Desktop
$ mkdir planets
$ cd planets
Then we tell Git to make planets a repository—a place where
Git can store versions of our files:
$ git init
we can see that Git has created a hidden directory within planets called .git:
$ ls -a
. .. .git
Git uses this special sub-directory to store all the information about the project,
including all files and sub-directories located within the project’s directory.
If we ever delete the .git sub-directory,
we will lose the project’s history.
Next, we will change the default branch to be called main. This might be the default branch depending on your settings and version of git.
$ git checkout -b main
Switched to a new branch 'main'
We can check that everything is set up correctly by asking Git to tell us the status of our project:
$ git status
# On branch main
#
# Initial commit
#
nothing to commit (create/copy files and use "git add" to track)
If you are using a different version of git, the exact
wording of the output might be slightly different.
Tracking changes
Let’s create a file called mars.txt that contains some notes
about the Red Planet’s suitability as a base.
We’ll use nano to edit the file;
you can use whatever editor you like.
$ nano mars.txt
Type the text below into the mars.txt file:
Cold and dry, but everything is my favorite color
mars.txt now contains a single line.
If we check the status of our project again, Git tells us that it’s noticed the new file:
$ git status
On branch main

Initial commit

Untracked files:
   (use "git add <file>..." to include in what will be committed)

	mars.txt
nothing added to commit but untracked files present (use "git add" to track)
The “untracked files” message means that there’s a file in the directory
that Git isn’t keeping track of.
We can tell Git to track a file using git add:
$ git add mars.txt
and then check that the right thing happened:
$ git status
On branch main

Initial commit

Changes to be committed:
  (use "git rm --cached <file>..." to unstage)

	new file:   mars.txt
Git now knows that it’s supposed to keep track of mars.txt,
but it hasn’t recorded these changes as a commit yet.
To get it to do that,
we need to run one more command:
$ git commit -m "Start notes on Mars as a base"
[main (root-commit) f22b25e] Start notes on Mars as a base
 1 file changed, 1 insertion(+)
 create mode 100644 mars.txt
When we run git commit,
Git takes everything we have told it to save by using git add
and stores a copy permanently inside the special .git directory.
This permanent copy is called a commit
(or revision) and its short identifier is f22b25e.
Your commit may have another identifier.
We use the -m flag (for “message”)
to record a short, descriptive, and specific comment that will help us remember later on what we did and why.
If we just run git commit without the -m option,
Git will launch nano (or whatever other editor we configured as core.editor)
so that we can write a longer message.
[Good commit messages][commit-messages] start with a brief (<50 characters) statement about the
changes made in the commit. Generally, the message should complete the sentence “If applied, this commit will”
If we run git status now:
$ git status
On branch main
nothing to commit, working directory clean
it tells us everything is up to date.
If we want to know what we’ve done recently,
we can ask Git to show us the project’s history using git log:
$ git log
commit f22b25e3233b4645dabd0d81e651fe074bd8e73b
Author: Vlad Dracula <vlad@tran.sylvan.ia>
Date:   Thu Aug 22 09:51:46 2013 -0400

    Start notes on Mars as a base
git log lists all commits made to a repository in reverse chronological order.
The listing for each commit includes
the commit’s full identifier
(which starts with the same characters as
the short identifier printed by the git commit command earlier),
the commit’s author,
when it was created,
and the log message Git was given when the commit was created.
Git insists that we add files to the set we want to commit before actually committing anything. This allows us to commit our changes in stages and capture changes in logical portions rather than only large batches. For example, suppose we’re adding a few citations to relevant research to our thesis. We might want to commit those additions, and the corresponding bibliography entries, but not commit some of our work drafting the conclusion (which we haven’t finished yet).
To allow for this, Git has a special staging area where it keeps track of things that have been added to the current changeset but not yet committed.

Remote repository
Version control really comes into its own when we begin to collaborate with other people. We already have most of the machinery we need to do this; the only thing missing is to copy changes from one repository to another.
Systems like Git allow us to move work between any two repositories. In practice, though, it’s easiest to use one copy as a central hub, and to keep it on the web rather than on someone’s laptop. Most programmers use hosting services like GitHub, BitBucket or GitLab to hold those main copies.
Let’s start by sharing the changes we’ve made to our current project with the
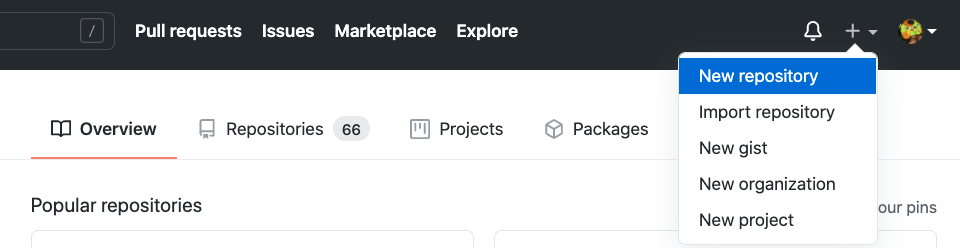
world. Log in to GitHub, then click on the icon in the top right corner to
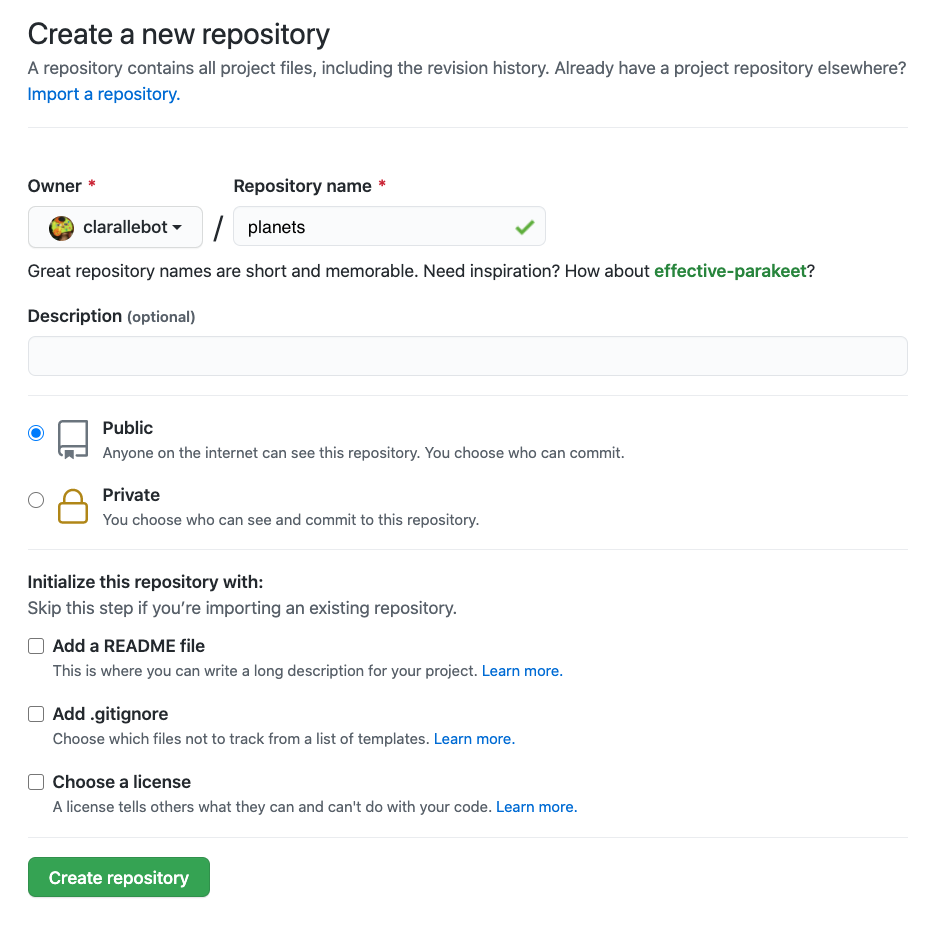
create a new repository called planets:
Name your repository “planets” and then click “Create Repository”:
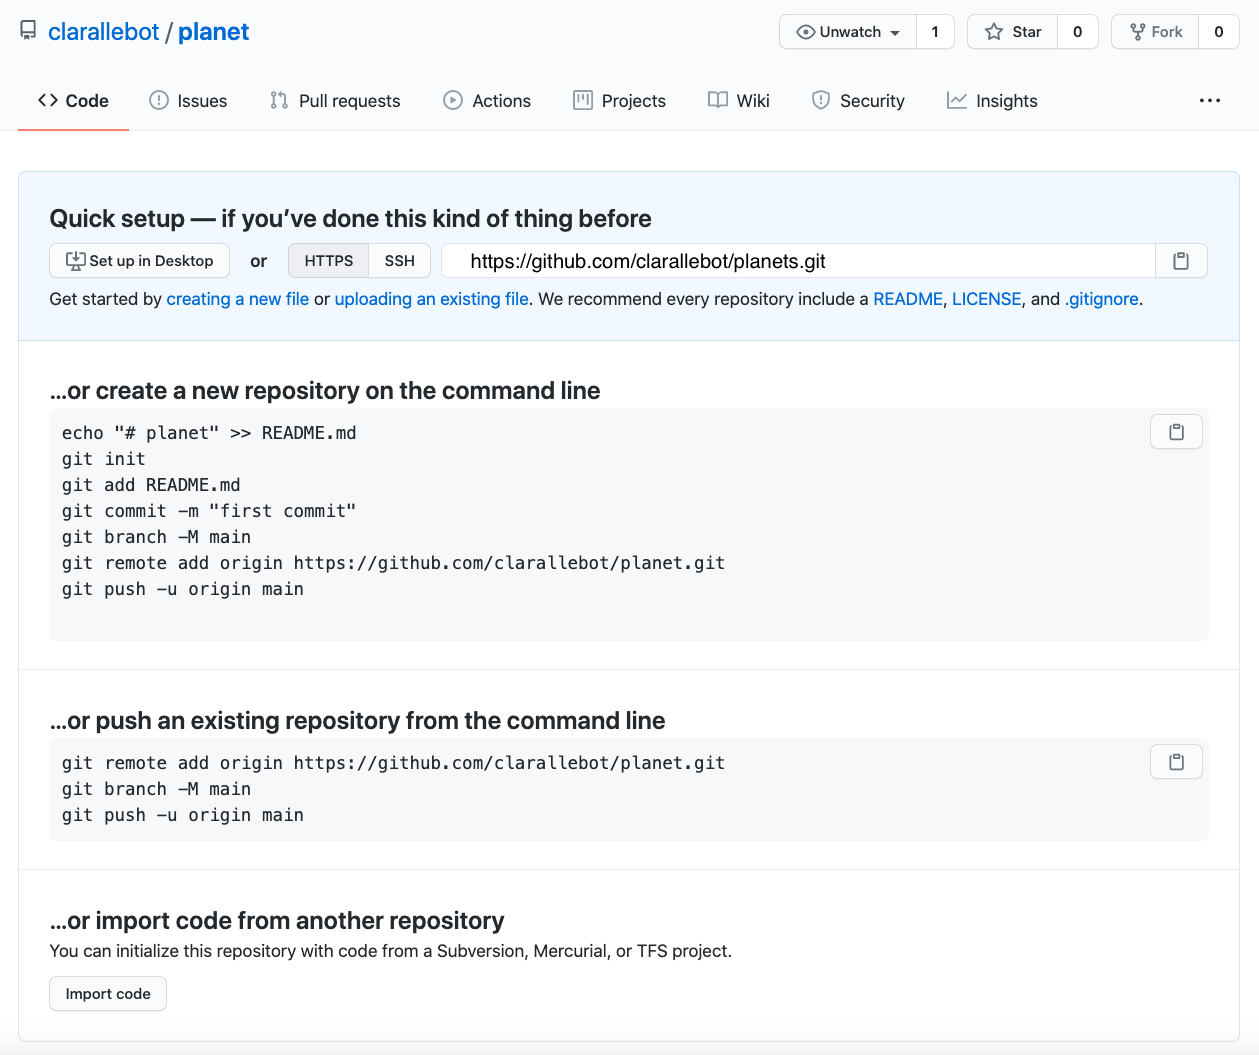
As soon as the repository is created, GitHub displays a page with a URL and some information on how to configure your local repository:
This effectively does the following on GitHub’s servers:
$ mkdir planets
$ cd planets
$ git init
Now that we have two repositories, we need a diagram like this:

Note that our local repository still contains our earlier work on mars.txt, but the
remote repository on GitHub appears empty as it doesn’t contain any files yet.
The next step is to connect the two repositories. We do this by making the GitHub repository a remote for the local repository. The home page of the repository on GitHub includes the string we need to identify it:

Click on the ‘HTTPS’ link to change the protocol from SSH to HTTPS.

Copy that URL from the browser, go into the local planets repository, and run
this command:
$ git remote add origin https://github.com/vlad/planets.git
Make sure to use the URL for your repository rather than Vlad’s: the only
difference should be your username instead of vlad.
We can check that the command has worked by running git remote -v:
$ git remote -v
origin   https://github.com/vlad/planets.git (push)
origin   https://github.com/vlad/planets.git (fetch)
The name origin is a local nickname for your remote repository. We could use
something else if we wanted to, but origin is by far the most common choice.
Once the nickname origin is set up, this command will push the changes from
our local repository to the repository on GitHub:
$ git push origin main
Counting objects: 9, done.
Delta compression using up to 4 threads.
Compressing objects: 100% (6/6), done.
Writing objects: 100% (9/9), 821 bytes, done.
Total 9 (delta 2), reused 0 (delta 0)
To https://github.com/vlad/planets
 * [new branch]      main -> main
Branch main set up to track remote branch main from origin.
Our local and remote repositories are now in this state:

Our local and remote repositories are now in this state:
Key Points
Version control is like an unlimited ‘undo’.
Version control also allows many people to work in parallel.
git initinitializes a repository.Git stores all of its repository data in the
.gitdirectory.
git statusshows the status of a repository.Files can be stored in a project’s working directory (which users see), the staging area (where the next commit is being built up) and the local repository (where commits are permanently recorded).
git addputs files in the staging area.
git commitsaves the staged content as a new commit in the local repository.